Pond & Reservoir Liner Installation Guide
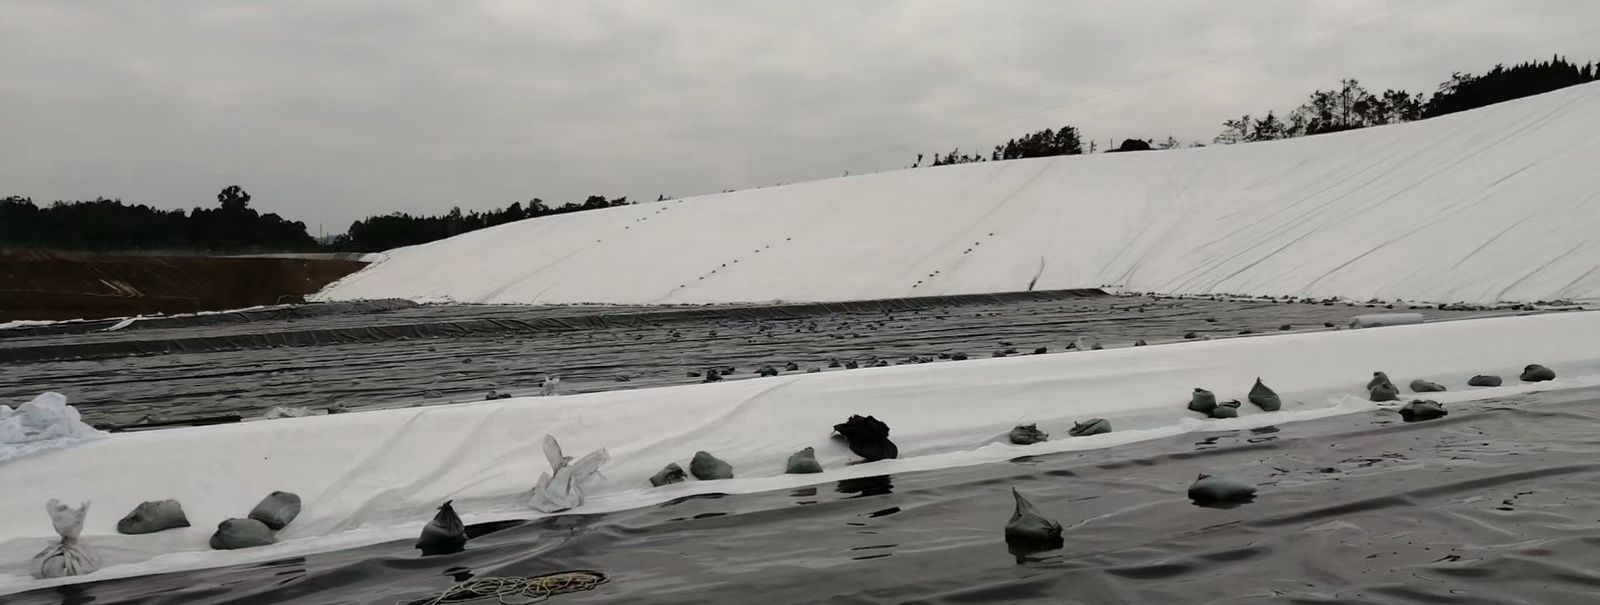
This guide covers the complete HDPE geomembrane installation workflow for ponds and reservoirs — from site preparation and liner thickness selection to laying, welding, anchoring and weld testing — with practical on-site tips that save both material and labor.
1Site Preparation
Correct subgrade preparation determines 80% of liner service life:
- Clear the basin of roots, rocks and debris; remove sharp stones larger than 20 mm.
- Level and compact the soil, fill soft spots, and trim the slope to a uniform profile (slopes steeper than 1:2.5 need textured liner).
- Add a sand or nonwoven geotextile cushion (200–300 g/m²) where the subgrade is stony — this is cheaper than repairing a puncture.
Fig. 1 Pond basin cross-section: cushion layer → HDPE liner → anchor trenches at both crests (schematic).
2Liner Thickness Selection
Match the thickness to the water depth, service life and puncture risk:
| Application | Recommended thickness | Notes |
|---|---|---|
| Ornamental pond, light duty | 0.5 mm | Low water depth, clean subgrade |
| Fish / aquaculture pond | 0.75 mm | Better puncture resistance for daily operation |
| Irrigation channel, medium reservoir | 1.0 mm | Balance of cost and durability |
| Large reservoir, dam face | 1.5 mm | Long service life, harsh UV and wave action |
3Laying the Liner
- Unfold panels down-slope, keeping the film relaxed to avoid wrinkles and stress points.
- Minimum 100 mm overlap between panels for hot wedge welding; on slopes, overlap in the direction of water flow (upper panel over lower panel).
- On windy days, ballast panels with sandbags — loose film that flaps will crease and tear.
4Welding the Seams
- Use a double-track hot wedge welder for long seams (speed 2–3 m/min, temperature 380–420 °C depending on ambient conditions — always run test welds first).
- The double track leaves a 50 mm air channel between the two weld lines, used later for air pressure testing.
- Repair small holes and weld defects with an extrusion welder and cover with a patch of the same material.
Fig. 2 Double-track hot wedge weld with 50 mm air channel for pressure testing (schematic).
5Anchoring the Liner
- Dig a 500 mm × 500 mm anchor trench (width × depth) at both crests, lay the liner into it, backfill and compact.
- On very wide reservoirs add an intermediate anchor trench on long slopes to stop the liner from creeping under water load.
- Leave 300–500 mm slack at the anchor point — the film shrinks slightly after installation.
6Weld Testing & Final Checks
- Air-pressure test every double-track seam: pump 0.2 MPa into the channel, hold for 5 minutes, pressure drop must be below 20%.
- Vacuum box test for extrusion welds and patches.
- Walk the whole liner, remove debris and stones, and repair any scratches before backfilling the protective layer.
Cost-saving tip: order one 6 m wide panel instead of two 3 m panels — wider rolls mean fewer seams, less welding labor, and less material waste on large ponds.
Need Liner for Your Pond or Reservoir?
Send us the basin area, slope profile and water depth — we reply within 24 hours with a thickness recommendation and FOB quote.
Email Us Request a Quote